The best baby gate for wide arched doorway with baseboard trim installations in 2026 is a hardware-mounted, extra-wide gate paired with Y-spindle wall adapters that bridge the baseboard offset and grip the arch's straight side panels. Skip pressure-mounted models — they slip on rounded jambs, and the curved top of an arched doorway leaves nothing for the upper bar to brace against. Look for gates that span at least 51 inches, include angle-mount hardware, and ship with wall-protector pucks. This guide covers the specific hardware, measurements, and installation tricks parents need when the opening is wider than 48 inches, curved at the top, and bordered by thick trim.
Why wide arched doorways break most baby gates
A standard baby gate assumes three things: two flat, parallel vertical surfaces; an opening between 28 and 42 inches wide; and a flush wall with nothing protruding at the base. Arched doorways violate all three. The curve at the top means there's no header to brace against — critical for pressure gates. The width usually exceeds 48 inches, putting it past the range of most off-the-shelf models. And the baseboard trim — often 4 to 6 inches tall and 1/2 to 3/4 inch thick — pushes the lower mounting bracket out of plane with the upper one, twisting the gate frame so the latch will not seat reliably.
If you've already returned two or three gates that wouldn't stay clamped, this is why. The fix is mechanical, not brand-based. You need a hardware-mounted gate (screws into the studs or the trim itself) and you need spacers that compensate for the baseboard's thickness so the gate frame stays plumb from top to bottom.
Measure before you shop
Pull out a tape measure and record five numbers:
- Opening width at floor level — measure between the two vertical jambs at the base, not where the arch curves inward.
- Opening width at 30 inches up — gates are roughly 30 inches tall. Confirm the jambs are still parallel and the width hasn't started narrowing into the arch.
- Baseboard height — from floor to the top edge of the trim.
- Baseboard projection — how far the trim sticks out from the wall surface above it. This is the gap your spacers need to fill.
- Where the arch starts curving — measure from the floor to the lowest point of the curve. If this is less than 36 inches, the gate's upper mount may conflict with the curve.
These five numbers determine whether you need a standard extra-wide gate, a custom-extension kit, or a pair of stacked gates joined by a center hinge.
Features to look for
Hardware-mounted frame
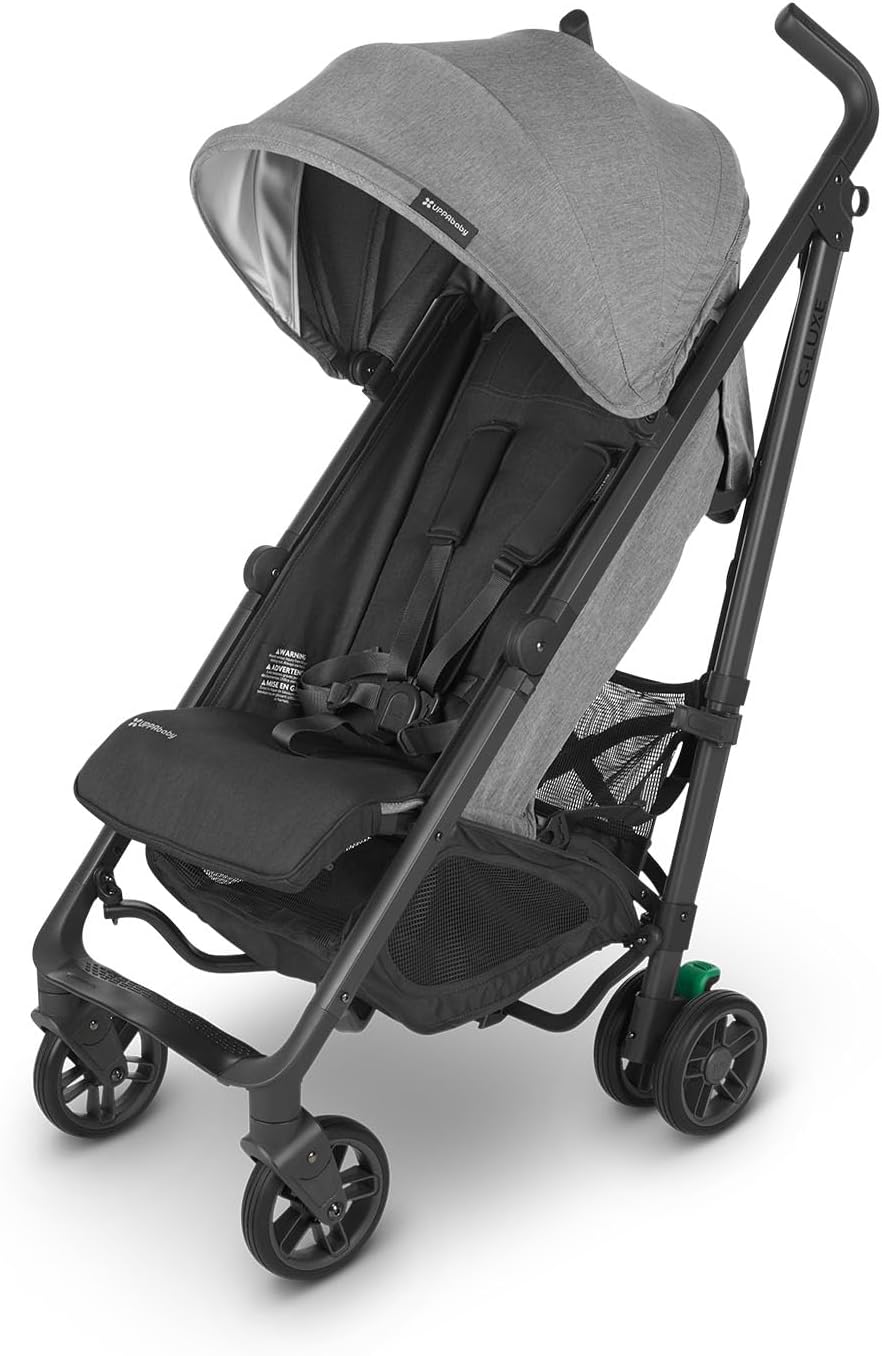
Pressure-mounted gates rely on tension between two facing walls. An arched doorway curves away from any vertical bracing point, so pressure mounts cannot hold reliably here. A hardware-mounted gate screws into the jamb (or into the baseboard trim itself) and physically anchors the frame. This is the only safe option at the top of stairs, and it's the only durable option for any doorway wider than four feet.
Y-spindle or wall-cup adapters
Y-spindles are small plastic or metal cups that hold the gate's mounting bolt at an offset from the wall. They let you bridge the gap created by the baseboard projection so the gate's frame sits perpendicular to the floor rather than tilted forward at the bottom. Brands like Cardinal Gates and Regalo include Y-spindles in their installation kits; others sell them separately for under twenty dollars.

Extension panels
Most extra-wide gates fit openings up to about 42 inches out of the box. For 48-inch-plus arched openings, you'll need one or more extension panels. Buy extensions from the same manufacturer — universal extensions exist but rarely match the hinge geometry, and a mismatched extension can leave a gap large enough for a small child to slip through.
Walk-through door with auto-close
If adults need to pass through frequently, a walk-through gate with an auto-close hinge prevents the most common failure mode: parents forgetting to latch behind themselves. The auto-close should be backed up by a hold-open feature so you can prop the gate when carrying groceries or laundry baskets.

Wall-protector pucks
Hardware mounts leave four screw holes. Wall-protector pucks (sometimes called wall savers or wall cups) let you mount the bracket onto a removable disc instead of directly to the trim. When you remove the gate years later, you peel off the puck and patch one small hole rather than four. This is especially valuable if you're a renter or have already-painted decorative trim.
Installation walkthrough for arched doorways with thick trim
Step 1 — confirm structure behind the trim
Use a stud finder along both sides of the doorway. In most homes, doorway jambs are framed with doubled 2x4s, so you'll get a solid signal. If the stud finder reads hollow, the jamb may be drywall-only — uncommon, but it happens with renovated openings. In that case, you'll need toggle bolts rated for at least 50 pounds of shear load, or you'll need to mount into the trim itself with longer wood screws that reach the framing behind it.
Step 2 — decide: mount on trim or above trim
There are two options. Mount on the trim by drilling straight through the baseboard into the jamb. The gate sits flush with the trim face on both sides. This is simpler but requires longer screws (typically 2.5-inch wood screws to clear 3/4-inch trim plus reach 1.5 inches into framing). Mount above the trim with Y-spindles bridging the gap: the upper bracket sits on the flat wall, the lower bracket sits on the baseboard, and Y-spindles compensate for the thickness difference. Most installation guides recommend the second approach because it spreads the load across more of the wall surface.
Step 3 — dry-fit before drilling
Assemble the gate with extensions to your measured width. Hold it in place and mark all four screw locations with a pencil. Step back and confirm the frame is vertical using a level. If the bottom bows forward, you don't have enough Y-spindle offset — add a second spindle or a thin spacer washer. If the top tilts back, the spindles are too thick — remove one.
Step 4 — drill and mount
Drill pilot holes one drill-bit size smaller than the screw shank. Mount the wall-protector pucks first if you're using them, then attach the brackets to the pucks. Tighten in a star pattern (top-left, bottom-right, top-right, bottom-left) rather than going around in sequence — this prevents the frame from racking.
Step 5 — test the latch under load
Once installed, push and pull on the gate at child height. A correctly mounted gate moves less than 1/4 inch in any direction. If it shifts more, one of your mounts isn't reaching solid framing — pull that screw and try a longer one or a different angle.
When the arch is too low for a standard gate
If the curve of the arch starts below 32 inches from the floor, a standard 30-inch gate's upper mounting bracket may not have a flat surface to attach to. Three options:
- Custom extension with sloped top — some manufacturers sell freestanding play yards that don't rely on wall contact along their entire upper edge.
- Pony wall installation — mount a 4-foot-wide pony wall inside the arch, then attach the gate to that. Higher labor, but visually clean.
- Two stacked half-gates — install two narrower gates back-to-back with a hinge at the center, each mounted to one side jamb. This works for openings up to about 60 inches.
For broader strategy, see our guides on baby-proofing open floor plans and when pressure-mounted gates are actually safe.
Baseboard-specific workarounds
If you cannot or will not drill into your baseboard trim — common with historic homes, rental properties, or recently-refinished moldings — consider these:
- 3M VHB tape backing behind a wall puck. Rated for 20+ pounds of pull force when applied to clean trim, removable with heat without damaging finish.
- Floor-mounted gate posts — instead of mounting to the doorway, mount two posts into the floor on either side of the trim, and stretch the gate between them. Works on hardwood, tile, and most carpet over plywood.
- Tension-fit gate with custom-cut spacer blocks — for pressure-mounted gates used in low-stakes locations (not stairs), cut 1/2-inch plywood spacers the height and depth of the baseboard, paint to match, and let the gate's pressure cup land on the spacer instead of the trim itself.
Safety considerations specific to wide gates
The JPMA (Juvenile Products Manufacturers Association) certification standard applies regardless of width, but wider gates have specific failure modes worth knowing about:
- Vertical bar spacing must be less than 2 3/8 inches to prevent head entrapment. Universal extensions sometimes have wider gaps — check before you buy.
- The latch should be operable with one hand but require enough force that a toddler cannot trigger it. Two-step latches (lift and slide) are best.
- No horizontal cross-bracing at climbable heights. Some extra-wide gates use diagonal X-bracing for rigidity; make sure the lowest brace is above 18 inches so a curious 14-month-old can't use it as a step.
- Top of stairs vs bottom of stairs — at the top of stairs, hardware mount is mandatory and the gate must open away from the stairs, never toward them. At the bottom, either mount type is acceptable but hardware is still recommended for arched openings.
For more on stair-specific gates, see our top-of-stairs banister-mount guide.
What about retractable mesh gates?
Retractable mesh gates seem perfect for wide openings — they extend across spans up to 71 inches and store invisibly when not in use. But for arched doorways with baseboard trim, they have two real drawbacks: the mesh sags under sustained pressure (a toddler leaning on it will deflect 4-6 inches), and the retraction housing is a hard plastic box that needs a flat mounting surface — exactly what an arched doorway's curve disrupts at the top. They work fine if you mount both the housing and the catch below the curve, but you sacrifice some height. Only use them in low-risk areas, never at the top of a staircase.
Frequently Asked Questions
Can I install a baby gate without drilling into baseboard trim?
Yes — use a hardware-mounted gate with 3M VHB-backed wall pucks, or use floor-mounted gate posts that anchor into the subfloor rather than the trim. Both leave the trim untouched. For renters, the VHB approach removes cleanly with a heat gun and leaves no residue when done correctly.
What's the widest opening a single baby gate can cover?
The widest commercially available single-panel hardware-mounted gates with manufacturer extensions cover about 76 inches in 2026. Beyond that, you need a multi-panel play yard configured as a room divider or two gates joined at a center hinge. Retractable mesh gates technically reach 71 inches but are not load-rated for the same impact resistance.
Will a Y-spindle work with any brand of baby gate?
Y-spindles from one manufacturer often fit other brands because the mounting bolt diameter is standardized at roughly 1/4 inch. Cardinal Gates Y-spindles are widely cross-compatible. Always verify the spindle's bolt thread (most are 1/4-20 UNC) matches your gate's bracket. If you're unsure, the universal spindle kits sold by Safety 1st include adapters for multiple thread sizes.
Do I need to remove the baseboard to install a baby gate properly?
No — and removing baseboard creates more problems than it solves (paint touch-up, caulk reseal, possible drywall damage). Use Y-spindles or a notched mounting block to compensate for the baseboard's thickness instead. The notched block is a small piece of wood cut to fit over the top of the baseboard, giving the gate's lower bracket a flat plane that matches the upper bracket's mounting surface.
How do I baby-proof an arched doorway that's at the top of stairs?
Use only a hardware-mounted gate, mount it so it opens away from the staircase, and confirm the gate is JPMA-certified for top-of-stairs use specifically. Many gates are certified for bottom-of-stairs and doorways only. For an arched opening, install Y-spindles to ensure the frame sits perfectly vertical, and test with at least 50 pounds of pull force before allowing your child near it.
Are pressure-mounted gates ever safe in an arched doorway?
Only in low-risk locations (not stairs) and only if the arch has at least 28 inches of flat vertical jamb on both sides for the pressure cups to seat against. The cups need a perpendicular, flat surface. If the curve starts immediately at the top of the jamb, pressure-mount will not work — the upper cup has nothing to push against. In nearly every wide-arched doorway, hardware-mounting is the safer answer.
What's the best baby gate for wide arched doorway with baseboard trim if I'm renting?
A hardware-mounted extra-wide gate (51-inch-plus span) installed with wall-protector pucks and 3M VHB backing. The pucks distribute the bracket's load, and the VHB tape means you can remove everything without drilling into the trim — just heat the adhesive with a hair dryer and peel. This satisfies most landlord agreements while still giving you stair-rated safety.
Bottom line
The best baby gate for wide arched doorway with baseboard trim setups is hardware-mounted, at least 51 inches wide with manufacturer extensions, installed with Y-spindles to bridge the baseboard offset, and protected by wall pucks if you ever plan to remove it. Skip pressure-mount in this configuration — the geometry works against you. Measure five points before you shop, dry-fit before you drill, and load-test before you trust it with a crawling child. For related gear, see our reviews on extra-wide baby gates and stair-specific baby-proofing.
Key Takeaways
- Choosing the right best baby gate for wide arched doorway with baseboard trim means matching capacity and output ports to your actual devices
- Always check actual watt-hours (Wh), not just watts — runtime depends on Wh, not peak output
- Also covers: pressure mount baby gate for arched doorway
- Also covers: wide opening baby gate baseboard trim
- Also covers: baby gate for archway no drilling
- Compare price-per-Wh across models to find the best value for your budget